Favorite Posts This September

Hello you, and welcome to inside the mind of an Obsessive Compulsive Designer.

Ugh, I’m beginning to see that the months go by faster and faster as the year goes on. I cannot believe this month is already gone! October is going to be a VERY busy but VERY fun month. I have so many exciting things to share with you so be sure to stay tuned. As for this month, take a look at my favorite posts from September!

img_1044

DIY Air Freshening Bouquet

I feel like fall and DIY’s go hand in hand. Tackle this easy and cute DIY this season!

img_1115

5 Helpful Tips For Cleaning Your Makeup Brushes

A chore no one likes to do; but, oh so important!

img_1143

Everyday Makeup Look Under $20

Check out this super simple and fresh makeup look. And yes, you read that right, it’s all under $20!

img_1152

Juice Beauty Stem Cellular Lifting Neck Cream Review

Skincare is my absolute favorite and this product deserves to be shared again!

Leave me a comment below and let me know what you’d like to see in October!

Follow my blog with Bloglovin

signature

Everyday Makeup Look Under $20


Hello you, and welcome to inside the mind of an Obsessive Compulsive Designer.

Yeah, you read that right. This look was created with less than $20! Sometimes a girl has to ball on a budget. And just because you’re on a budget, that doesn’t meant that you have to compromise your style at all. The trick to staying under $20 is picking the right products to get a multi-use out of each one. Here is what I used:

Elf BB Cream – $6.00

I love this bb cream and have been using it for a couple years now. You can find my full review on it here. It’s great for this look because it gives a lively dewy glow to the skin so you don’t have to stress about ditching a primer! This bb cream looks great applied with a beauty blender but also looks great applied with your hands (for an even cheaper application).

NYX HD Concealer – $3.74

I cannot live without concealer and my under eyes definitely can back me up on that haha! I used this concealer to highlight all the usual high points on my face and also used it to prime my eyelids. Dual purpose!

Wet N Wild MegaGlo Contouring Palette – $4.99

This product is so great and the most versatile of all the products I use here. I use the matte highlighting side to set my concealer all over my face and eyes. Then I took the contour powder and brushed that over the perimeter of my face. This powder is still rather warm for me so I like to use it to bronze as opposed to contouring. Then I took the contour powder on a smaller brush to work that on the crease of my eyelid and lightly dust under my lower lashes. Since I’m a brunette, I was able to use this contour powder as a filler for my brows too! Can you say amazing?! If you prefer to pass on foundations and concealers, you could survive off of this one product! Love!

Wet N Wild Max Volume Plus Mascara – $4.99

Mascara is something I can’t live without so I had to make sure I included this product in this challenge. This is actually my favorite mascara and I use it religiously. You can see my full review on this product here. If you’re an eyeliner junkie, you could take some of this product on a liner brush and give yourself a bit of winged liner. I usually don’t use liner so I opted out of that.

That’s it! Four products, under $20, fabulous everyday look. This was a fun challenge for myself and also taught me a thing or two about my own collection. Next time I’m running low on room when packing, I now know I can create this beautifully simple look with four small products!

Leave me a comment below and let me know your thoughts! If you try this challenge, tag me so I can see what you come up with!

Follow my blog with Bloglovin

signature

August Beauty Empties


Hello you, and welcome to inside the mind of an Obsessive Compulsive Designer.

It’s time to purge my hidden beauty empties drawer and show you all a little sneak peek behind a few things I’ve ran through recently. I feel like last month I ran through quite a few odds and ends in my beauty collection; but, most of my empties this month are hair products. Without further ado, let’s jump into this empties collection

OGX Coconut Milk Shampoo + OGX Argan Oil Conditioner

I’ll save you some redundancy and time and link my full review of these products here.

Batiste Dry Shampoo in Divine Dark

Yet, another favorite of mine. Check out some more thoughts of mine in my last empties post. I go through these like every other week!

Tresemme Hair Spray

This has been my tried and true hairspray for YEARS. My hair literally doesn’t move but doesn’t compromise the lividity. No crust but all the hold! Now with me using this up, I’m on the search for a cruelty free hairspray solution. Let me know what you recommend!

Radha Rosehip Oil

Obsessed. I’ve already replenished my stock on this oil. I’m so glad I tried this out. The best part? I find mine on Amazon and have it delivered straight to me! This oil has totally changed my skin for the better and I can’t even imagine my life before it.

Retread

My go-to hair mask for damaged hair. It’s helped me keep my long hair while repairing my dead ends. I didn’t think I could get my hair to grow past a certain point; but, this product proved me wrong! Love it!

Glam Glow Thirsty Mud

Dry skin? You need this! I have loved each and every Glam Glow mask I’ve tried thus far. This mask is so perfect for that extra boost of hydration and it smells delicious!

Mario Badescu Vitamin A-D-E Neck Cream

There’s no better time to start taking extra care of your skin than before the damage is already done. I started using a neck cream this year and this was the first product I tried. I loved the thick consistency and it felt very nourishing. I didn’t see any change in my neck but, then again, I don’t have mature skin yet. I’m trying a different neck product now and will let you know how the two compare!

Victoria’s Secret Fresh Body Mist

This mist is from….Christmas I think? I was gifted a collection of four or five and have been switching between them all. Clearly, I really liked this one! The scent wears off easily but what body mist doesn’t?

NYX Micro Brow Pencil

My everyday eyebrow pencil that has seriously upped my brow game. I have already repurchased!

E.l.f. Liquid Eyeliner in brown

E.l.f. is seriously underrated. I love some of their products and this is one of them. Their eyeliners are great quality and easy to apply. What could be better? I like switching up my eyeliner color to brown for daytime looks because it’s less harsh. I recommend trying this one out!

Leave me a comment below with a cruelty free hairspray you recommend I try out!

Follow my blog with Bloglovin

signature

Too Faced Born This Way Foundation Review

Too Faced.JPG

Hello you, and welcome to inside the mind of an Obsessive Compulsive Designer

Let’s talk about cult favorite Too Faced Born This Way Foundation because it receives non-stop hype all over the internet. This foundation is a medium coverage very natural looking foundation, not too matte and not too dewy. I’ve been using this foundation for the past year or so now and I will NEVER go back. It’s often rare that I try an overly hyped product and actually like it. This foundation is amazing and I love the way it makes my skin look.

My skin type is more normal/combination and this foundation does a great job not looking greasy in my T-zone and not clinging to my dry patches in other areas. I’m also a very freckled lady so I love that this foundation still let’s my skin look natural with the freckles peeking through. I hate complete full coverage foundations because my whole body is covered in freckles and then it just makes my face look like someone stole a porcelain doll’s head and plucked it on my body. So mismatched. This foundation, however, makes my skin look natural and you can’t notice any difference between my face and the rest of my body. Love that! For me, a beauty blender is the ONLY way to apply this foundation. The beauty blender just makes this foundation look all the more natural.

I’ve repurchased this foundation multiple times, I think I’m only on my third or fourth bottle. (Not too bad for the last year or so!) Until something new and breathtaking hits the market, I’m sure I’ll be using this for years to come! If you’re looking for a natural foundation and have a similar skin type to mine, I very much recommend this product.

Let me know down below if you’ve tried this product and let me know your thoughts!

Follow my blog with Bloglovin

signature

Makeup Storage

beauty

beauty-storage

acrylic-storage

makeup

Hello you, and welcome to inside the mind of an Obsessive Compulsive Designer

Take a sneak peek into my bathroom with this post on how I keep all my beauty items stored and organized! I’m not any kind of crazy beauty fanatic and I don’t think I own stupid amounts of makeup but I do have quite the collection. A couple years ago is when I finally decided to get myself an upgrade from the old drawer of unorganized makeup I usually kept my things in (and I’m so glad I did). I picked up three pieces that have significantly changed to way I function on a day to day basis and improved the care that I keep with my products.

I purchased all three of these acrylic organizers from Amazon, because Amazon has EVERYTHING. They were the perfect size, price, and I like how they are clear so I can see everything inside. I’ll be sure to link the cotton swab holder, makeup brush organizer, and the 3 drawer system here. They’re easy to clean and perfect for my small collection.

Getting the 3 drawer system for the bulk of my makeup was a necessity and it allows me to have a concrete system in the morning. Before these organizers, I would shuffle around in my drawer for a good minute or two to find what I needed but now I work drawer to drawer with everything easily accessible. Even if you aren’t a makeup junkie, I highly recommend picking up this item to organize your beauty items (or any other smaller things around your home). This particular drawer set is offered in so many color selections, both solid and transparent, that you’re bound to find one you like.

Leave me a comment below and let me know how you organize your makeup stash at home!
Follow my blog with Bloglovin

signature

How Expensive Is My Face?

How Expensive Is My Face.JPG

Hello you, and welcome to inside the mind of an Obsessive Compulsive Designer

For those who may not have seen this post before you may be a little weirded out. This post basically sums up all of the makeup I put on my face every morning and takes tally of how expensive each of those products are. I haven’t myself run the numbers yet and I’m a bit scared to find out how much this total comes to! Stick around and find out!

Nivea’s Sensitive Post Shave Balm – $6.49

Too Faced Born This Way Foundation – $39

NYX HD Concealer – $4.99

RCMA – $12

NYX Eyebrow Pencil – $9.99

Too Faced Natural Eyes Palette – $36

Wet N Wild Mascara – $4.29

Wet N Wild Contour & Highlighting Palette – $4.99

NYC Contour Powder – $4.99

Wet N Wild Color Icon Blush – $2.99

Urban Decay All Nighter Setting Spray – $31

Tarte Lippie – $20

Which comes to a total of $176.73 and excuse me while I go vomit (because I’m dramatic). That’s a disturbingly high number for my face makeup! That’s not even including the large array of brushes in my arsenal. Yikes! Too bad I’m in love with all these products and refuse to give them up. I hope you all enjoyed this fun post and comment below if you have done this so I can be sure to check it out for myself!

Follow my blog with Bloglovin

signature


Wet N’ Wild Max VOLUME PLUS Mascara Review

wet-n-wild-mascara-reviewwedding-day-hairimg_9171Hello you, and welcome to inside the mind of an Obsessive Compulsive Designer

If you’re a makeup junkie or maybe just very particular about your makeup, you know that a mascara can make or break your look. If you accidentally pick up a bad mascara it can be very frustrating to try and take it off, as it’s normally the last step of your eye makeup. I’ve tested quite a few mascaras and can definitely say that I’m picky when it comes to the formulas. Before I started my transition into buying cruelty free products, my favorite mascara was hands down the L’Oréal Voluminous Carbon Black. After I switched from that I spent a few months bouncing back and forth between mascaras trying to find the right fit but I found my new love in this one!

The Wet N’ Wild Max VOLUME PLUS Mascara has quickly become my ultimate mascara. I would be lost if they ever decided to discontinue it. It doesn’t clump up when layering and does exactly what the name lets on, adds volume plus length. I love this mascara! I used this on my wedding day and every day since! I’m now on my second tube of this, which shows just how much I love this. It’s the most natural looking mascara I’ve ever used!

If you’re in the market for a new mascara, I would definitely recommend trying this bad boy out. Since its Wet N’ Wild, you know that the price is just right! I’m not sure why this isn’t hyped up more often but I love it! Leave a comment below and let me know what your favorite cruelty free mascara is!

Follow my blog with Bloglovin

signature

What’s In My Makeup?!

Makeup_Safety.jpg

Hello you, and welcome to inside the mind of an Obsessive Compulsive Designer

I wanted to take today to talk about something a little more serious and scary about a topic very near and dear to me – makeup. I was recently contacted by a lovely woman from Consumer Safety and during our conversation she made me a little more aware to what exactly is in our everyday products. She sent me this big PDF with lists of harmful chemicals (chemicals I couldn’t even pronounce), what harm they inflict on us, and what products most often contain them. She sent me this more compact and cute version of the list for ease of all my readers so I have attached it above.

Naturally, I was like “Okay, that’s scary but I use a lot of natural products. I’m not too worried about this.” I went through my beauty products and found most all of them contained these nasty chemicals. I was astonished at just how many had them! I knew some of them were bound to be laced with these nasty cancer-causing chemicals but OMG. My beloved RCMA powder that I use every single day contains two ingredients: Silicon and TALC. Essentially, I’ve been setting my under eyes with powdered poison. I think some big changes are in order! I need to go through my products and really switch over to some more natural products.

Ignorance is bliss; but I’m so glad she opened my eyes to what some of those unpronounceable chemicals are in my products. It’s time for me to make a change and lessen the chance of damaging my skin or body. It seems like everything nowadays gives us cancer, am I right? Well, I’m definitely going to be making some changes that lessen that chance from coming from my beauty drawer!

Leave me a comment below and let me know if you guys are in the same boat. Where you just as blind to it as I was?

Follow my blog with Bloglovin

signature

Everyday Eye Makeup Tutorial

IMG_9171.JPG

Hello you, and welcome to inside the mind of an Obsessive Compulsive Designer

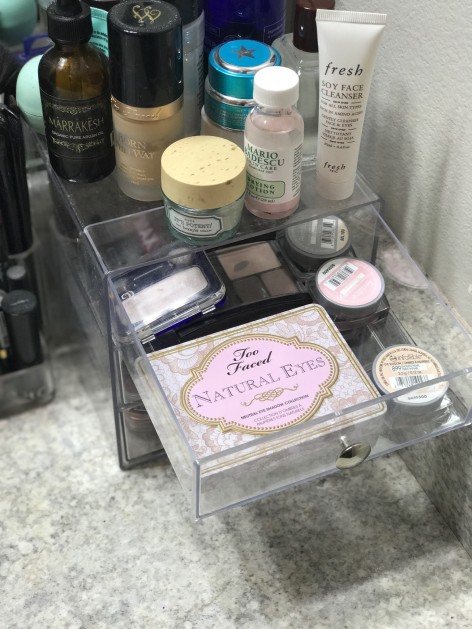
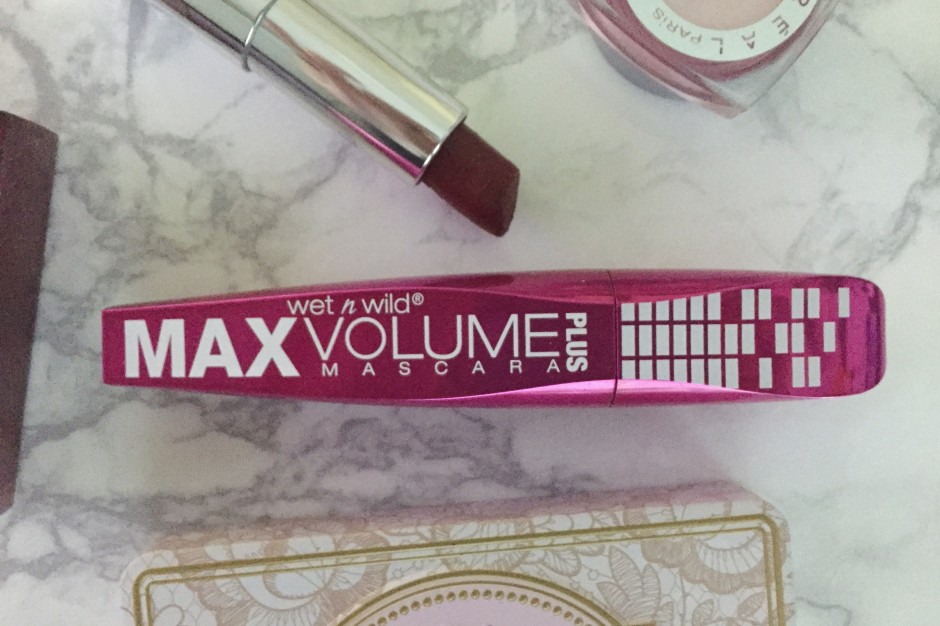
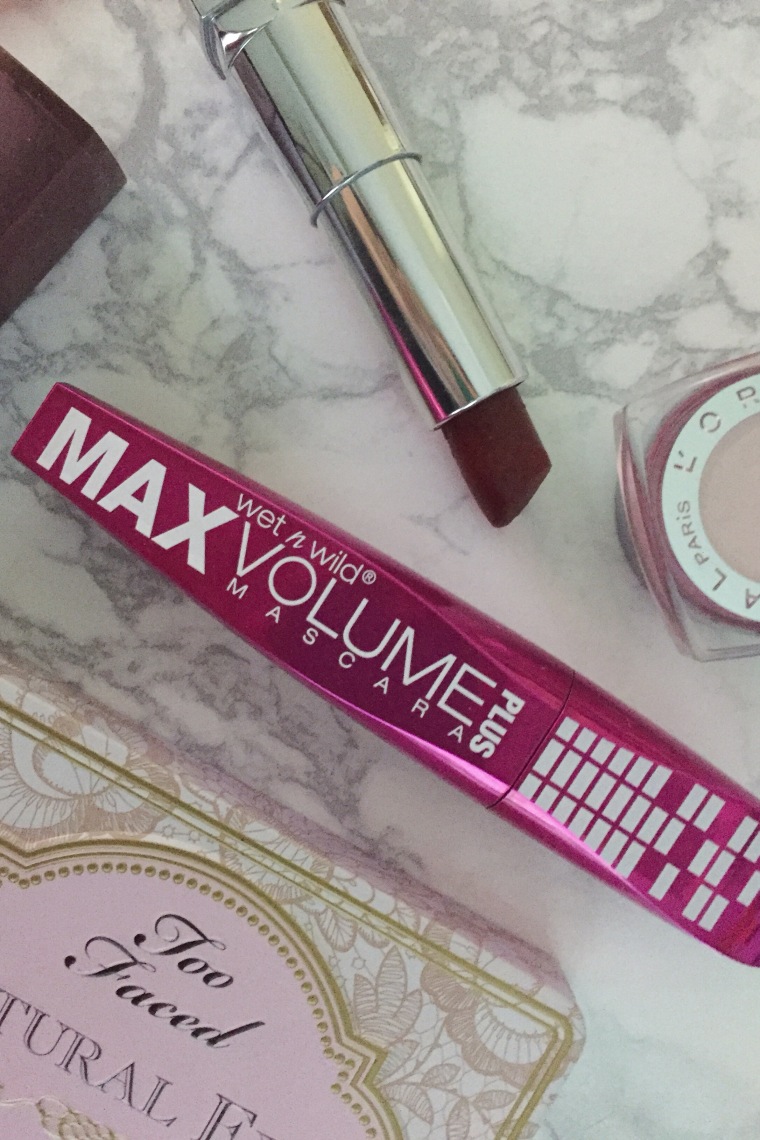
I’ll be the first to admit that in the mornings, I can hardly be bothered to do my makeup (or really anything for that matter). I’ve started picking out my outfits the night before because I know if I let myself do it in the morning, it won’t be pretty. However, I’ve been doing essentially the same makeup for the past few years and have committed it to muscle memory (Go me!). Today, I wanted to share it with you because it is honestly the easiest tutorial EVER. I’m not a professional makeup artist by any means; but, I do know when in doubt – blend. 😉 For this look I’m going to use my trusty Too Faced Natural Eyes Eye Shadow palette. Having this palette isn’t a necessity to recreate this look, you can use any natural colors that you already have! If you are interested in this palette, feel free to check out my post about it and see some of the swatches for yourself!

Step 1 : Prime

Whether you work full time, you’re going to school, or whatever you do with your life – ALWAYS prime your eyelids. You’ll get the best color payoff and you won’t have to worry about your eyeshadow creasing. But what do you do when it’s 6 am and you can’t be bothered to prime? Do like me! I just take whatever concealer is left on my beauty blender and use that on my eyelids and this does the trick!

Step 2 : Setting Powder

I like to use my RCMA powder to set my eyelids because I’m already using it to bake my under eye concealer. Don’t overcomplicate your life in the morning, just use whatever you have handy. If you’re looking for a setting shade in this palette, I like using Heaven.

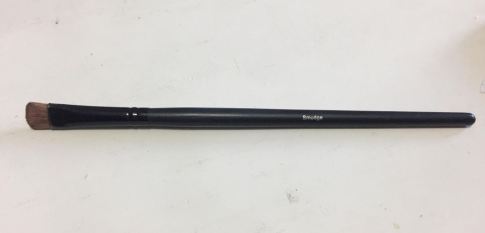
Step 3 : Transition Shade

The first real step to the eyeshadow look is to find the perfect crease shade. I find that the color Nudie is the perfect crease shade. It’s not too far off from my skin color and it has a hint of gray to it. (A shade with a grayer tint to it will help you create the look of natural shadow.) I buff this all over my crease and blend it upwards. There isn’t really a rhyme or reason to how much I apply, just until I like the color.

Step 4 : Outer Corner

I like to pick a deeper color for my outer corner to give the look some depth. Cashmere Bunny has really proven to be a gorgeous shade for that! I definitely don’t over-do this since it is just an everyday look. After you get off work, you can pop a darker shade there to really smoke out the look and take it to a night-time look, like Sexpresso.

Step 5 : POP!

I like to add a little shimmer to my everyday look so it isn’t too plain and simple. (Because let’s face it, I’m not a plain and simple kind of girl!) I’ll use a flatter brush to pack on Push-Up to the inner two thirds of my eyelid. Afterwards I’ll take a blending brush and blend the darker shade and shimmer together for a seamless transition.

Step 6 : Inner Corner Highlight

Taking Silk Teddy on a small definer brush to the inner corner adds the necessary last touch to the look!

Step 7 : Volume

Most of the time, I like taking a small packing brush and coat the area where my eyelashes and eyelids meet with Sexpresso. It’s a much softer look than eyeliner and adds a bit of volume to your lashes to make them appear fuller. Completely unnecessary step, but I LOVE the way it looks.

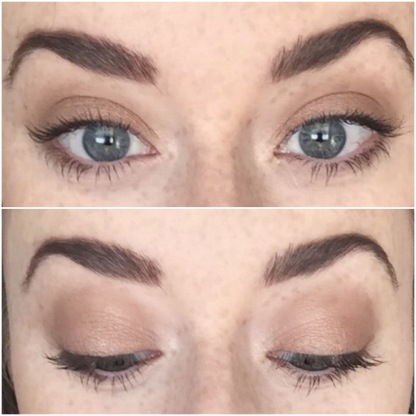
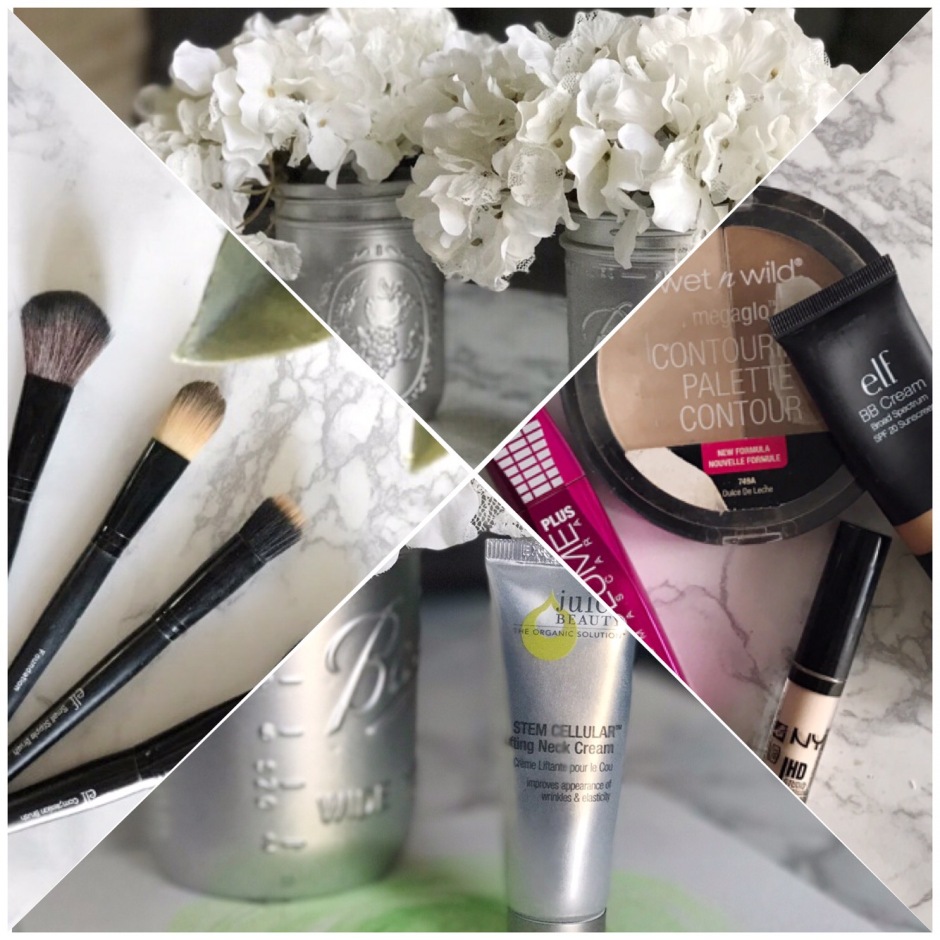
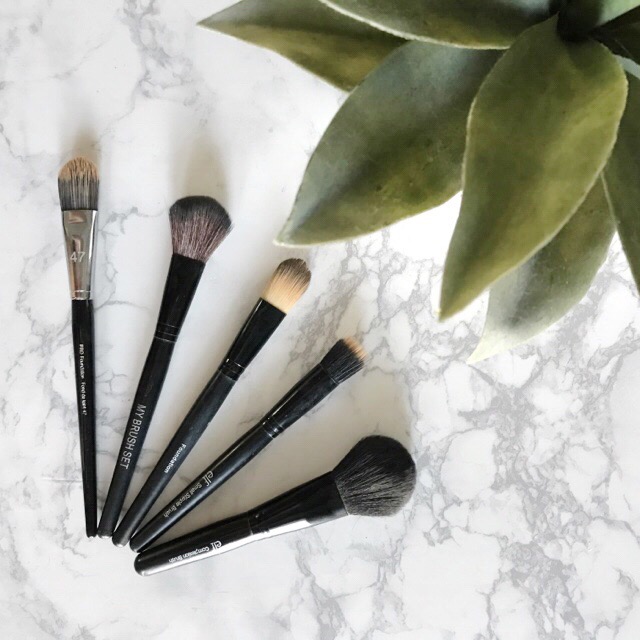
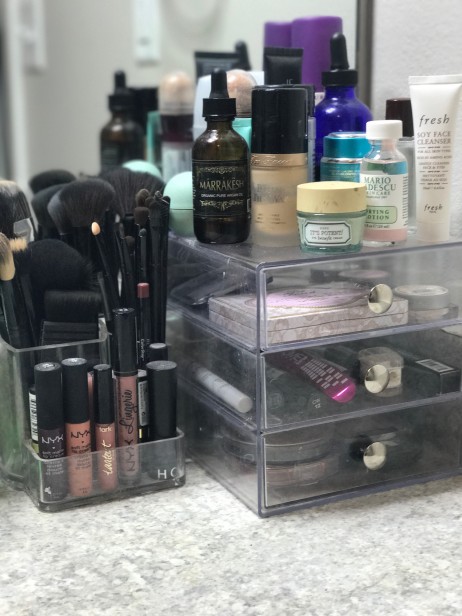
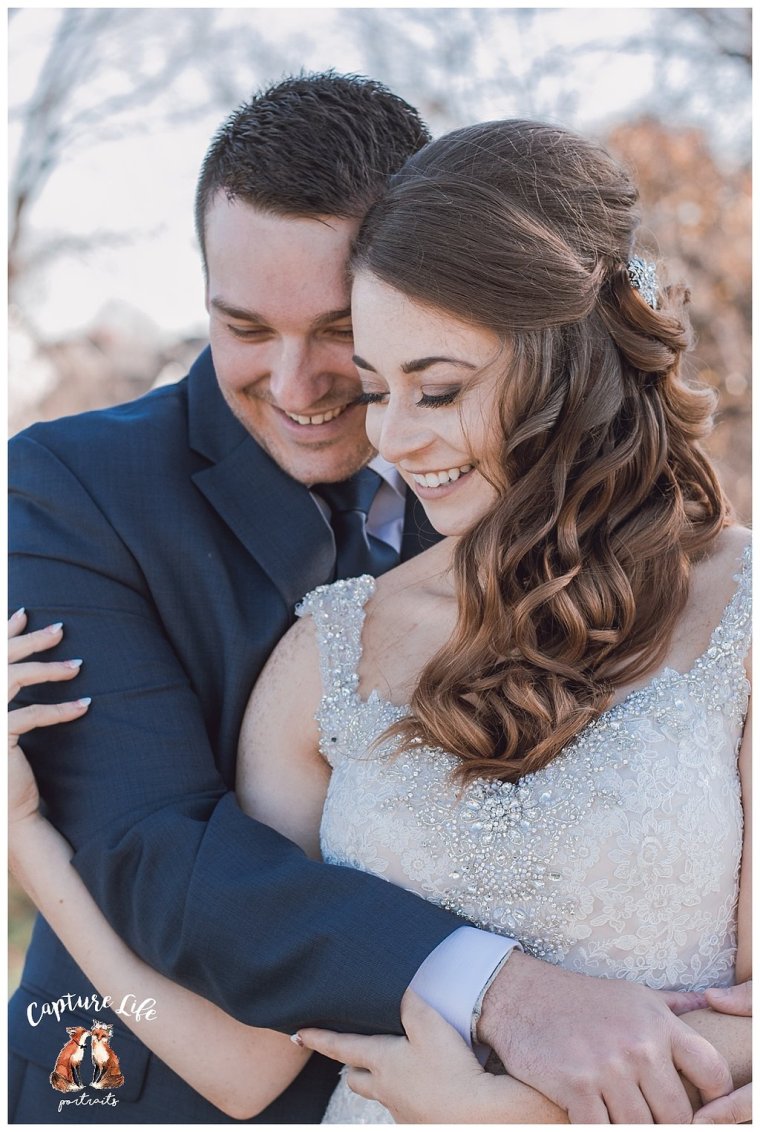
Now, you’re ready to rock the day (and look put together while doing so)! Check out my Must Have Makeup Brushes post to see an up close look at the brushes I used to create this look. You definitely don’t have to have the Too Faced Natural Eye Neutral Eye Shadow Palette to do this look. This concept works with any eye shadows in similar colors! With these few easy steps, you will have a flawless look that will take no time at all. Just remember to blend, blend, blend! 🙂

signature

Makeup & Skincare Haul

Capture.JPG

Hello you, and welcome to inside the mind of an Obsessive Compulsive Designer

I’ve been going a little spender crazy this month but I’m not mad about it! Beauty product prices never cease to amaze me. So expensive! For products that go over the majority of my face though, I definitely pool more money into. Something simple like mascara I could care less about. I just want the best of the best on my skin. Speaking of skin, let’s start with skincare products first.

Origins Active Charcoal Mask

After my disastrous attempt with the Lush mask, I needed a good charcoal mask to work on clearing up my skin asap. I’ve heard about this mask for a while now and decided to give it a go. Charcoal is great for extracting black heads and all the junk that gets in your skin. This product is probably the one I am most excited for!

RCMA Powder

Kathleen Lights shed light on this beauty and I’ve finally decided to purchase it! I’m hoping it will be the perfect setting powder for the big day! (que the wedding bells)

Hourglass Stick Foundation

I’ve been very intrigued by the stick foundations and of all the reviews I have heard on them, this one seems like it would be a good fit for my skin. I decided to pick it up prior to the big day to try out. I’ll let you all know my thoughts! Let me know yours if you have a better wedding foundation recommendation!

Sephora Collection Pro Press Full Coverage Complexion Brush

The reviews I read on the Hourglass foundation recommended a brush as opposed to a sponge for fuller coverage, which is what I’m aiming for in this foundation. So I picked up this Sephora Pro brush because of all the amazing things people have said about it! It’s sooo soft, I almost feel bad getting makeup on it!

Urban Decay All-Nighter Setting Spray

I fully anticipate this product to work wonders! I’ve not heard many people, if any, complain about this setting spray. I’m hoping this will give my face makeup the extra push that it needs on the big day!

Sally Hansen Miracle Gel in Frill Seeker

When I saw this color, I knew I needed to have it. The color is the exact shade I wanted for my toes on the big day. It’s going to compliment my dress beautifully!

Vegas Nay Lashes in Easy Elegance

Perfect lashes for the big day as well. Dramatic but wispy enough to not look ridiculous on my eyes! I’ve heard great things about this brand so I’m excited to finally give them a try.

As you can see, most of these items were purchased in mind for the big day (minus the Beauty Blender – just replacing my old sponge). I’m hoping I have the perfect combination within these products. I’ve picked some of the most recommended products so I’m not too worried. As always, I will update you all in a few weeks with my results!

signature

Must-Have Makeup Brushes


1

Hello you, and welcome to inside the mind of an Obsessive Compulsive Designer

Let’s talk about the essentials when it comes to makeup brushes. I don’t pretend to be any kind of makeup artist or “guru” and I don’t very much care about name brands. So, I can’t honestly tell you the brand of most of my makeup brushes. All I know is that they came from online boutiques, drugstores, or from Sephora. However, I know which type of makeup brushes you should have in your personal arsenal. Let’s get into it!

2

Flat Top Kabuki Brush – Great for blending out foundation if you prefer brushes to sponges. (I prefer sponge for a more flawless airbrushed finish.) This brush is also great for blending together your contour, blush, and highlight to give you a natural finish.

3

Face Powder Brush – I always set my foundation with a large soft face powder brush. I think it’s a great addition to the arsenal!

4

Contour Brush – I have a couple brushes for this. The first is an angled brush that does wonders. However, my favorite of the two is my Nars ita brush. (It’s a $50 brush. It’s excessive, I know. The shape is all you really need.) It’s great for carving out the cheekbones.

5

Blush Brush – This smaller dome shaped blush brush is great for applying blush!

6

Eye Blending Brush – I can’t tell you how many of these I actually have. I’m often lazy and when I don’t want to wash brushes to switch colors, I take a new blending brush. I can’t do my eyeshadow without one of these brushes

7

Flat Eyeshadow Brush – These are great for packing on pigment. I use these primarily for packing on shimmers to my lids.

I clearly have an excessive amount of brushes but I use the majority of them. This post is just designed to show you what brushes you need to purchase first, or just what a normal everyday person needs (haha!). I hope you enjoyed. I’ll see you Wednesday with another wedding post that I’ve been dying to share!

signature

Lush Mini Haul

Hello you, and welcome to inside the mind of an Obsessive Compulsive Designer

This weekend, after a great recommendation, I stopped in at my local Lush store FOR THE FIRST TIME. I know, I know. What took me so long? I’m not sure either. I was probably worried that I would get addicted; and it’s safe to say, that I am now officially addicted! I’ve been needing a great cruelty free hair and face mask for a while now. Plus, the fact that they use 100% recycled product for their packaging really makes me happy. I can already tell this is a brand I’m totally on board with.

I’ve seen a lot of people rave about the Mask of Magnaminty and thought I would give it a try! It smells amazing to the point where I have to tell myself that I shouldn’t eat it haha. What drew me to this mask is the fact that it’s deep cleaning and exfoliating. I do have a Clarisonic but haven’t gotten around to ordering a new brush head for it; so, I was in need of a good exfoliating mask. I reach for my Glam Glow Powermud mask about once a week, if not more. However, it doesn’t exfoliate my skin as well as my Clarisonic and definitely doesn’t work as well as the Mask of Magnaminty. I tried the Mask of Magnaminty for the first time last night and fell in love! I’m going to keep using it for the next couple weeks and update you all on my thoughts!

My hair definitely could use a good trim as I haven’t been to the salon in a couple months; but, I wanted to get a good conditioning mask to give my hair a fighting chance before taking scissors to it! I opted towards something so conditioning that it is an actual conditioner, Lush’s Retread conditioner to be exact! What I like to do is wet the ends of my hair with lukewarm water to open up my hairs cuticles and make sure the mask is being used to its full potential. Then I’ll take a decent amount and apply it to my ends (never going past the middle of my hair). I like to leave the product in for about 15 minutes before washing it out in the shower. I tried this mask out for the first time last night as well and was EXTREMLY impressed! I didn’t have much hope for my dead ends but this really put life back into my hair in just one use. I will be continuing to try this out as well for the next couple of weeks and let you know my thoughts!

signature